Kingspan TP10/TW55/TF70 PIR Boards
Kingspan TP10/TW55/TF70 PIR Boards
Stock item!
Call us on 020 7112 8106 for our best price
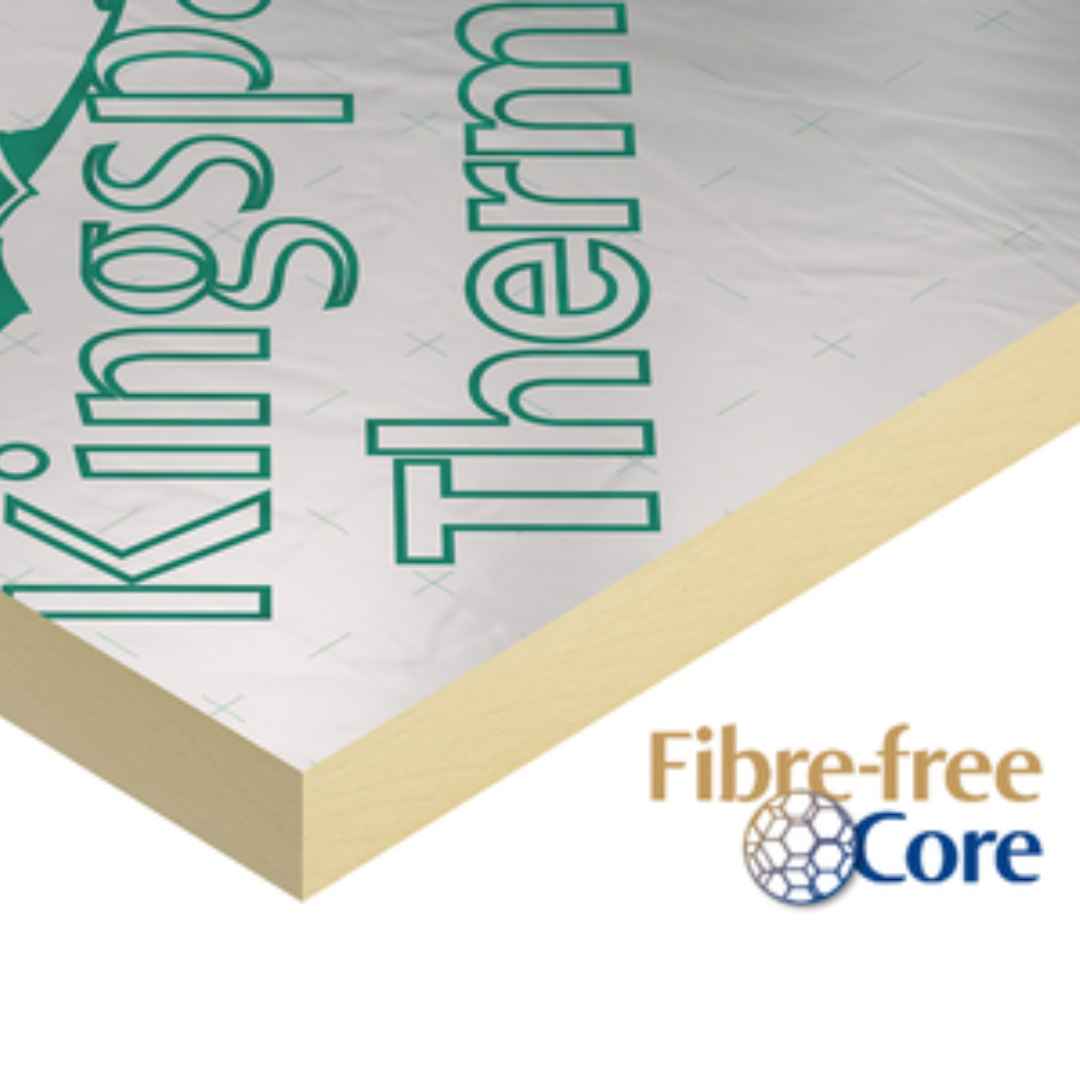
Kingspan TP10, TW55 and TF70 (all the same insulation board) are high-performance, rigid PIR panels with a thermal conductivity of conductivity 0.022 W/mK. They are an ideal home insulation product for use as wall insulation, floor insulation, and pitched roofs and ceilings, and are the equivalent of Celotex's GA4000 range.
Product Application
Kingspan have named what is the same board with three different names these names are based upon the different application situations that the board is to be used in.
- Kingspan TP10 or Kingspan Thermapitch 10 for use in ceilings and roofs.
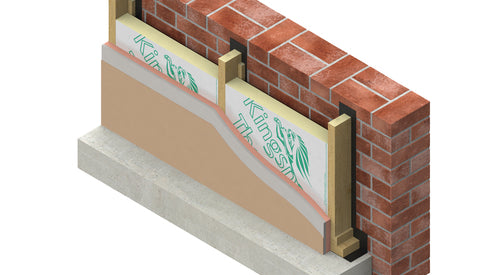
- Kingpsan TW55 or Kingspan Thermwall 55 for use in wall applications
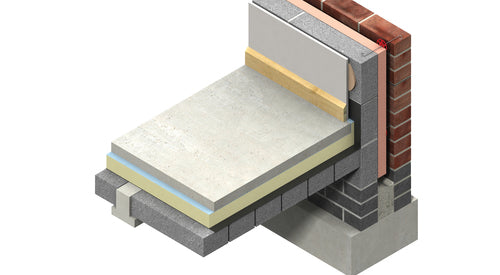
- Kingpan TF70 or Kingspan Thermafloor 70 for use in floor applications.
Please not that these are one and the same board just given different names to identify the application you are using!
Technical Specs of Kingspan TP10
|
Product |
R Value (mK/W) |
Thermal Conductivity (W/mK) |
U Value (W/m²K) |
Compressive strength (kPa) |
Water vapour resistance (MNs/g) |
Reaction to fire |
|
TP10 20mm |
0.85 |
0.022 |
1.18 |
≥ 140 |
> 100 |
Euroclass F |
|
TP10 25mm |
1.05 |
0.022 |
0.95 |
≥ 140 |
> 100 |
Euroclass F |
|
TP10 30mm |
1.30 |
0.022 |
0.77 |
≥ 140 |
> 100 |
Euroclass F |
|
TP10 40mm |
1.70 |
0.022 |
0.59 |
≥ 140 |
> 100 |
Euroclass F |
|
TP10 50mm |
2.15 |
0.022 |
0.47 |
≥ 140 |
> 100 |
Euroclass F |
|
TP10 55mm |
2.35 |
0.022 |
0.43 |
≥ 140 |
> 100 |
Euroclass F |
|
TP10 60mm |
2.60 |
0.022 |
0.38 |
≥ 140 |
> 100 |
Euroclass F |
|
TP10 65mm |
2.80 |
0.022 |
0.36 |
≥ 140 |
> 100 |
Euroclass F |
|
TP10 70mm |
3.00 |
0.022 |
0.33 |
≥ 140 |
> 100 |
Euroclass F |
|
TP10 75mm |
3.25 |
0.022 |
0.31 |
≥ 140 |
> 100 |
Euroclass F |
|
TP10 80mm |
3.45 |
0.022 |
0.29 |
≥ 140 |
> 100 |
Euroclass F |
|
TP10 90mm |
3.90 |
0.022 |
0.26 |
≥ 140 |
> 100 |
Euroclass F |
|
TP10 95mm |
4.10 |
0.022 |
0.24 |
≥ 140 |
> 100 |
Euroclass F |
|
TP10 100mm |
4.30 |
0.022 |
0.23 |
≥ 140 |
> 100 |
Euroclass F |
|
TP10 105mm |
4.55 |
0.022 |
0.22 |
≥ 140 |
> 100 |
Euroclass F |
|
TP10 110mm |
4.75 |
0.022 |
0.21 |
≥ 140 |
> 100 |
Euroclass F |
|
TP10 115mm |
5.00 |
0.022 |
0.20 |
≥ 140 |
> 100 |
Euroclass F |
|
TP10 120mm |
5.20 |
0.022 |
0.19 |
≥ 140 |
> 100 |
Euroclass F |
|
TP10 125mm |
5.40 |
0.022 |
0.19 |
≥ 140 |
> 100 |
Euroclass F |
|
TP10 130mm |
5.65 |
0.022 |
0.18 |
≥ 140 |
> 100 |
Euroclass F |
|
TP10 135mm |
5.85 |
0.022 |
0.17 |
≥ 140 |
> 100 |
Euroclass F |
|
TP10 140mm |
6.05 |
0.022 |
0.17 |
≥ 140 |
> 100 |
Euroclass F |
|
TP10 145mm |
6.30 |
0.022 |
0.16 |
≥ 140 |
> 100 |
Euroclass F |
|
TP10 150mm |
6.50 |
0.022 |
0.15 |
≥ 140 |
> 100 |
Euroclass F |
|
TP10 155mm |
6.70 |
0.022 |
0.15 |
≥ 140 |
> 100 |
Euroclass F |
Where Kingspan TP10 should be used:
Unventilated (Sealed and Unsealed) and Ventilated Constructions
There is generally a choice between either approach, except in the case of refurbishment / loft conversions. In these instances, unless the whole roof is to be stripped, it is impossible to use an unventilated roof, because a breathable sarking membrane cannot be installed.
Recent research suggests that the unventilated, sealed roof approach yields a more energy efficient roof as the impacts of ventilation and incidental infiltrating cold air are negated.
Position of Insulation
Dependent on the designed insulation value of the construction and the available rafter depth and headroom, different approaches can be taken. It is recommended to use two layers of insulation to achieve required U–values. The major benefit of two layer systems and the Insulation
Over Rafters
Rafter approach is that thermal bridging caused by the rafter is prevented and the potential for pattern staining in the position of the rafters is completely avoided. The choice may be influenced by the available headroom and concerns over the depth of bargeboards.
TP10 installed with Breathable sarking membrane e.g. Kingspan nilvent® lapped 150 mm (min.) over the ridge from each side.
Approaches with a layer of insulation over rafter are likely to yield very large fascia boards and so generally, between and under rafter insulation approaches are probably more desirable.
Note: However, where the choice is for two layers, the layer with the greatest effective R–value should be placed uppermost in order to prevent condensation between the two layers.
Unventilated Roof – Ventilation Considerations
Unventilated roof approaches create a warm pitched roof space, which does not require cross ventilation. Recent research suggests that sealing an unventilated roof yields a more energy efficient roof, as the impacts of ventilation and incidental infiltrating cold air are negated. Therefore, if creating an unventilated roof, it is preferable to fully seal all joints in the breathable sarking membrane with tape. Any water vapour reaching the breathable sarking membrane escapes without condensing. There is then adequate air movement beneath the tiles to dissipate this water vapour to the outside atmosphere.
Ventilated – Insulation Between & Under Rafters (Recommended for Loft Conversion) Overhanging Eaves Detail – Section Perpendicular to Ridge
Tape for sealing joints in the breathable sarking membrane should be specified in accordance with the recommendations of the breather membrane manufacturer. The requirement for a vapour control layer and / or under–tile ventilation should be assessed to BS 5250: 2002 (Code of practice for control of condensation in buildings). Vapour check plasterboard or a separate vapour control layer can be specified as preferred, if required.
Parallel to Ridge Ventilated – Insulation Between & Under Rafters (Recommended for Loft Conversion): Ventilated Roof – Ventilation Considerations
In these cases the Building Regulations / Standards require a 50 mm ventilation air gap between the insulation and the sarking felt, so as to avoid condensation.
The requirement for a vapour control layer should be assessed to BS 5250: 2002 (Code of practice for control of condensation in buildings). Vapour check plasterboard or a separate vapour control layer can be specified as preferred, if required.
Breathable Sarking Membrane
BS 5250: 2002 recommends that the vapour resistance of the breathable sarking membrane must not exceed 0.60 MNs/g e.g. Kingspan Nilvent®.
Position of Breathable Sarking Membrane
The taping of breathable sarking membrane joints is considerably easier to achieve if the membrane is installed on a continuous surface.
In these cases, the breathable sarking membrane is installed under the counter–battens, which provide a channel for water drainage, or in situations with a sarking board under a slated roof, directly under the slates (as neither tile battens nor counter–battens are used).
Generally, when a continuous surface is available, it will prove easier to install the breathable sarking membrane in horizontal runs, whilst still enabling easy sealing between runs.
In some cases with a continuous surface (when counter-battens, tiling battens and tiles replace slates nailed directly into the sarking board) the breathable sarking membrane can be installed over the counter–battens.
This yields a marginally better design U–value but it may be more difficult to seal the breathable sarking membrane joints effectively, as the membrane must be draped over the counter–battens in horizontal runs so as to provide a water drainage channel. The air movement allowed by the unsealed membrane may negate the benefit of putting the membrane above the counter–battens.
In situations where there is no continuous surface, the breathable sarking membrane can be draped over the rafters in horizontal runs to provide a channel for water drainage.
In this situation, sealing of the breathable sarking membrane joints will prove difficult.
In roofs with no continuous surface, it is preferable, though more difficult, to install the breathable sarking membrane in vertical runs with junctions between runs sealed by counter–battens placed over the laps in rafter positions.
The breathable sarking membrane is installed taut as the counter–batten provides a space for water drainage.
Recommended Solutions for New Build / Re–roofing
The ideal solution for new build or re–roofing projects is, therefore, between and under rafter insulation with a continuous surface for the breathable sarking membrane so that it can be installed in horizontal runs under counter–battens with laps sealed.
The next best solution is, therefore, between and under rafter insulation with no continuous surface for the breathable sarking membrane, and the breathable sarking membrane installed in vertical runs with laps sealed under counter–battens.
Mansard Roofs / Walls
Kingspan Thermapitch® TP10 can be used for the construction of insulated tiled or slated mansard roofs / walls. Its application on such contracts is identical to the standard specification, which is given here.
Fire Stops
Current Building Regulations / Standards should be considered with regard to the requirements for and provision of fire stops.
Over Rafter Layer of Insulation
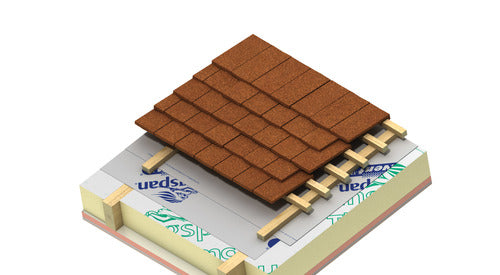
Over rafter insulation without a sarking board, is simply fixed by placing the Kingspan Thermapitch® TP10 boards over the rafters and under 38 x 38 mm treated softwood counter–battens in line with the rafters. Secure the counter–battens to the rafters by fixing through both the counter–battens and the Kingspan Thermapitch® TP10.
Unventilated – Insulation Between & Over Rafters (Recommended for New Build or Re–roofing) Overhanging Eaves Detail – Section Perpendicular to Ridge
Over rafter insulation with slates fixed directly into a sarking board, is simply fixed by placing the Kingspan Thermapitch® TP10 boards over the rafters with the sarking board overlaid. Secure the sarking board and Kingspan Thermapitch® TP10 to the rafters by fixing through both the sarking board and the Kingspan Thermapitch® TP10.
Over rafter insulation with a sarking board and tiles on tiling battens and counter–battens, is simply fixed by placing the Kingspan Thermapitch® TP10 boards over the rafters with the sarking board overlaid, and with 38 x 38 mm softwood treated counter–battens in line with the rafters.
Section Parallel to Ridge Unventilated – Insulation Between & Over Rafters (Recommended for New Build or Re–roofing)
Secure the counter–battens to the rafters by fixing through the counter–batten, the sarking board and the Kingspan Thermapitch® TP10.
Kingspan Thermapitch® TP10 should be tightly butted.
Boards may be laid either across or down the line of the rafters and should preferably be laid break bonded. All board joints running from eaves to ridge must occur over rafters. There is no necessity to tape board joints. A preservative treated stop rail should be secured to the rafters close to the eaves.
Fixings for Over Rafter Insulation
Helifix In–Skew, Target Skewfast, Wallfast, Timfix or similar approved fixings should be applied at centres appropriate to the design of the roof and location of the building.
Between Rafter Layer of Insulation
Between rafter insulation can be installed by three methods.
In cases where the insulation between rafters is to be flush with the top of the rafters but does not fill the full rafter depth (Figure 3), install the insulation by the use of nailable sarking clips. The nailable sarking clips are driven into the upper surface of each rafter at one–metre intervals up the roof slope.
The nailable sarking clips then support lengths of Kingspan Thermapitch® TP10 suitably trimmed to size and placed between the rafters.
In cases where the insulation between rafters is to be flush with the bottom of the rafters but does not fill the full rafter depth, install the insulation with the aid of battens nailed to the side of the rafters. The battens should be in the appropriate position to ensure the insulation is flush with the bottom of the rafters.
In cases where the insulation between rafters fully fills the rafter depth, simply install the correct thickness of insulation in such a manner that it is flush with the bottom of the rafters.
In all cases, ensure that insulation boards are tightly butted and that there is a tight fit between the insulation and the rafters. Fill all gaps with expanding urethane sealant.
Under Rafter Layer of Insulation
Please refer to literature for Kingspan Kooltherm® K118 Insulated Dry–lining Board.
Breathable Sarking Membrane
The specified breathable sarking membrane (e.g. Kingspan nilvent®) is applied as specified. Application advice should be sought from the appropriate membrane manufacturer.
Sarking Felt
In cases without a sarking board, the sarking felt is draped over the rafters to provide a channel for water drainage and held in place by the slate / tile battens, which are nailed through the felt to the rafters.
In cases with a sarking board, the sarking felt is applied over the sarking board and held in place by the slates or counter–battens which are nailed through the felt to the sarking board.
Slating and Tiling
Slating and tiling over Kingspan Thermapitch® TP10 is exactly the same as on any other pitched roof except that in some instances the slate / tile battens are fixed to the previously applied counter–battens. It is, however, essential that slate or tiling rubble does not lie in contact with the breathable sarking membrane (if used) as this may allow wind driven rain or melted snow to penetrate the breathable sarking membrane.
Surface Treatment
Kingspan Thermapitch® TP10 has a foil faced durable surface and no further treatment is necessary. Kingspan Thermapitch® TP10 is not intended to provide an internal finish and should be underlined with a suitable building board.
Cutting
Cutting should be carried out either by using a fine toothed saw, or by scoring with a sharp knife, snapping the board over a straight edge and then cutting the facing on the other side.
Ensure accurate trimming to achieve close–butting joints and continuity of insulation.
Daily Working Practice
Installed Kingspan Thermapitch® TP10 boards should be protected against inclement weather.
